
Table of Contents
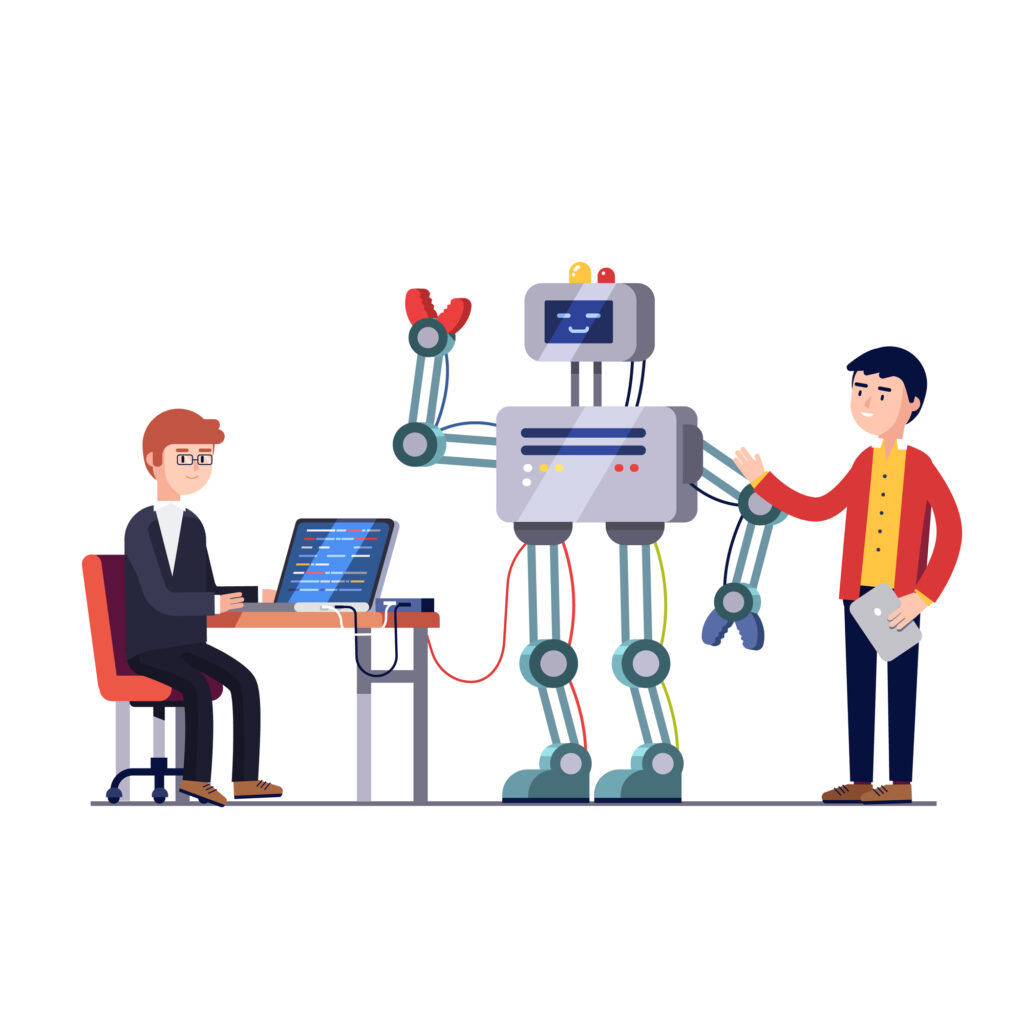
How to Make a Robot: A Comprehensive Guide
Introduction
Welcome to our comprehensive guide on how to make a robot! In this article, we will delve into the intricate world of robotics and provide you with step-by-step instructions to create your very own robot. Whether you’re a hobbyist, a student, or an aspiring engineer, this guide will equip you with the knowledge and skills to bring your robot to life.
Understanding Robotics like chatgpt
Before we dive into the technical aspects of building a robot, it’s essential to have a solid understanding of what robotics entails. Robotics is a multidisciplinary field that combines elements of mechanical engineering, electrical engineering, computer science, and artificial intelligence. By creating a robot, you’ll gain insights into each of these domains, making it a fascinating and rewarding endeavor.
Planning Your Robot
The first step in building a robot is to define its purpose and capabilities. Are you interested in constructing a humanoid robot, an autonomous drone, or a robotic arm? Determining the type of robot you want to create will guide your design and component selection process. Additionally, consider the tasks you want your robot to perform and the environment it will operate in, as these factors will influence your decisions throughout the construction process.
Components and Materials
Now that you have a clear vision of your robot’s purpose, it’s time to gather the necessary components and materials. Here are some key elements you’ll typically need:
- Microcontroller: The brain of your robot, responsible for controlling its functions.
- Sensors: Various sensors such as proximity sensors, accelerometers, and gyroscopes to perceive the robot’s surroundings.
- Actuators: Motors, servos, or hydraulic systems to enable movement and manipulation.
- Power Supply: Batteries or power sources to provide energy to the robot’s components.
- Chassis: The physical framework of your robot, providing structure and support.
- Wiring and Connectors: Essential for establishing connections between components.
Research and select components that align with your robot’s requirements. Consider factors like compatibility, performance, and cost-effectiveness to make informed decisions.
Design and Assembly
With your components in hand, it’s time to move on to the design and assembly phase. Here’s a general outline of the process:
- Sketch: Begin by sketching your robot’s design, considering the placement of components, dimensions, and overall aesthetics.
- CAD Modeling: Utilize computer-aided design (CAD) software to create a 3D model of your robot. This will help visualize its structure and identify any design flaws.
- Prototyping: Build a prototype using low-cost materials like cardboard or foam board. This step allows you to test the functionality and identify areas for improvement.
- Final Assembly: Once you’re satisfied with the prototype, proceed to assemble the final version of your robot using durable materials.
Throughout the design and assembly process, pay close attention to ergonomics, weight distribution, and cable management to ensure optimal performance and durability.
Programming and Control
Now that your robot is physically constructed, it’s time to program and control its behavior. Here are the key steps involved:
- Choose a Programming Language: Select a programming language that suits your robot’s microcontroller. Popular options include C/C++, Python, and Arduino.
- Write Code: Develop algorithms and code snippets to control the various functions of your robot. This may involve programming motor control, sensor integration, and decision-making capabilities.
- Test and Debug: Regularly test your code and troubleshoot any issues that arise. Patience and persistence are key during this phase.
Remember, programming is a creative process that allows you to breathe life into your robot. Embrace experimentation and don’t shy away from seeking help from online communities or forums.
Fine-tuning and Iteration
Congratulations on successfully bringing your robot to life! However, the journey doesn’t end here. Continuous improvement is crucial to refining your robot’s performance and expanding its capabilities. Consider the following steps:
- Performance Evaluation: Test your robot in various scenarios and assess its performance against predefined metrics. This evaluation will help identify areas for enhancement.
- Iterative Design: Based on your performance evaluation, make necessary modifications to your robot’s design, components, or programming. Iterate until you achieve your desired results.
- Documentation: Maintain detailed documentation of your robot’s specifications, design, and modifications. This will be invaluable for future reference or when sharing your work with others.
Topic 1: Introduction to Robotics
Robotics is a fascinating field that combines various disciplines, including mechanical engineering, electrical engineering, computer science, and artificial intelligence. The ability to create your own robot opens up a world of possibilities for exploration, learning, and innovation.
Topic 2: Planning Your Robot
Before diving into the actual construction process, it’s important to define the purpose and objectives of your robot. Determine the type of robot you want to build, whether it’s a humanoid robot, an autonomous drone, or a specialized robot for a specific task. Consider the environment in which the robot will operate and the tasks it will need to perform.
Topic 3: Research and Component Selection
Thorough research is key to selecting the right components for your robot. Identify the microcontroller that will serve as the brain of your robot, along with sensors to perceive the environment, actuators for movement and manipulation, power sources, and a sturdy chassis. Consider factors such as compatibility, performance, and cost-effectiveness when making your component choices.
Topic 4: Design and Prototyping
Designing your robot involves creating a blueprint or sketch that outlines the structure and placement of the components. Computer-aided design (CAD) software can help you visualize the robot in 3D and make any necessary adjustments. Building a prototype using low-cost materials allows you to test the design and identify potential improvements or flaws.
Topic 5: Assembly and Wiring
Once you have the components and a finalized design, it’s time to assemble your robot. Follow the instructions provided with each component and ensure proper connections and wiring. Pay attention to cable management to avoid any interference or issues during operation. Take your time to ensure each component is securely attached and properly aligned.
Programming and Control
Programming is the heart and soul of your robot, enabling it to perform tasks and interact with its environment. Choose a programming language that suits your microcontroller, such as C/C++, Python, or Arduino. Develop algorithms and code snippets to control the various functions of your robot, including motor control, sensor integration, and decision-making capabilities. Regularly test and debug your code to ensure smooth operation.
Topic 6: Programming and Control
Programming is the heart of any robot. Select a programming language that is compatible with your microcontroller and learn the basics of coding. Develop algorithms to control the robot’s movements, integrate sensor data, and enable decision-making capabilities. Test and debug your code regularly to ensure optimal performance.
Topic 7: Testing and Iteration
Testing is a crucial step in the robot-building process. Evaluate your robot’s performance in different scenarios and identify areas for improvement. Fine-tune its movements, responsiveness, and sensor accuracy. Iterate on the design, components, and programming to enhance your robot’s capabilities.
Topic 8: Safety Considerations
Safety should always be a top priority when building and operating a robot. Take precautions to protect yourself and others during the construction and testing phases. Be aware of potential hazards, such as sharp edges or moving parts, and follow best practices for electrical safety. Always supervise the robot’s operation and avoid risky or dangerous situations.
Topic 9: Documentation and Sharing
Documenting your robot-building journey is essential for future reference and sharing your work with others. Keep detailed records of the components used, the design, the programming code, and any modifications made along the way. Consider sharing your experience online through blogs, forums, or social media to inspire and educate fellow robot enthusiasts.
10. Conclusion
Building a robot is an exciting and challenging endeavor that allows you to explore the fascinating world of robotics. By following this comprehensive guide, you’ve acquired the foundational knowledge and skills to create your own robot. Remember, the key to success lies in meticulous planning, diligent execution, and a passion for innovation.
How to Make a Robot: A Comprehensive Guide
Introduction
Welcome to our comprehensive guide on how to make a robot! In this article, we will delve into the intricate world of robotics and provide you with step-by-step instructions to create your very own robot. Whether you’re a hobbyist, a student, or an aspiring engineer, this guide will equip you with the knowledge and skills to bring your robot to life.
Understanding Robotics
Before we dive into the technical aspects of building a robot, it’s essential to have a solid understanding of what robotics entails. Robotics is a multidisciplinary field that combines elements of mechanical engineering, electrical engineering, computer science, and artificial intelligence. By creating a robot, you’ll gain insights into each of these domains, making it a fascinating and rewarding endeavor.
Planning Your Robot
The first step in building a robot is to define its purpose and capabilities. Are you interested in constructing a humanoid robot, an autonomous drone, or a robotic arm? Determining the type of robot you want to create will guide your design and component selection process. Additionally, consider the tasks you want your robot to perform and the environment it will operate in, as these factors will influence your decisions throughout the construction process.
Components and Materials
Now that you have a clear vision of your robot’s purpose, it’s time to gather the necessary components and materials. Here are some key elements you’ll typically need:
- Microcontroller: The brain of your robot, responsible for controlling its functions.
- Sensors: Various sensors such as proximity sensors, accelerometers, and gyroscopes to perceive the robot’s surroundings.
- Actuators: Motors, servos, or hydraulic systems to enable movement and manipulation.
- Power Supply: Batteries or power sources to provide energy to the robot’s components.
- Chassis: The physical framework of your robot, providing structure and support.
- Wiring and Connectors: Essential for establishing connections between components.
Research and select components that align with your robot’s requirements. Consider fact
how to make a robothow to make a robothow to make a robothow to make a robothow to make a robothow to make a robot
how to make a robothow to make a robothow to make a robothow to make a robothow to make a robothow to make a robothow to make a robot